Formatting new drives
Creating new drives on the Amiga cheat sheet
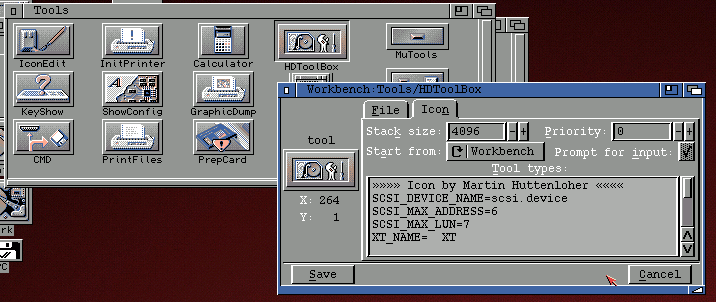
First to note is the driver being used for your disk. Mostly the scsi.device driver is the correct choice. If you are using another driver such as ehide.device (Terrible Fire cards) then you must change the SCSI_DEVICE_NAME to match the device name in the icon info. If you are using WinUAE then disks are managed with the uaehf.device.
Configure Drive
Run the HDToolBox application (usually under Tools from your Workbench or on your Install disk).
If this is a new drive/device then you may need to click on Change Drive Type.
Next you want to partition the drive. Click on Partition Drive to take you to the following display.
By default the application defines 2 partitions set to 50/50 split of the whole drive space. These can be deleted, resized or new partitions added.
For older 3.0 and 3.1 workbench, the max partition size is 2GB. Anything larger will have issues for FFS. 3.9 and 3.2 can support larger sizes.
Expand the information by clicking on Advanced Options.
The Buffers value controls how much memory is set aside to cache data for the partition. The default is OK for small partitions such as 100MB, but you may want more if you set over 1GB with 200 - 300 recommended to improve performance. If you are running a system without any memory expansion, then you may want to consider keeping the value as-is for Buffers (note that more partitions equals more memory usage as buffers are created per partition).
Click on the partition graphic to flick between partitions.
You will note that the first has the Bootable checked and the 2nd isn't set. Obviously Bootable being checked will make the partition attempt to boot at startup. If this isn't your boot drive then uncheck this option for any partitions created.
For each partition there are some important settings to apply. Some newer drivers and Workbench versions may not require this, but for sanity, I've always followed this because when I haven't there have been problems.
Select the first partition and press Change.
Set MaxTransfer to 0x1FE00 and press enter (enter is important to set the value).
Mask is only important for drives with DMA and you will need to set according to your device manual.
You can optionally configure the File system block size to larger than 512 to improve disk performance. For drives set in the GB range then I'd suggest 4096 would be more suitable. Note that Buffers * block size equals the amount of memory allocated to cache data. So if you have no additional memory then 512 bytes should be used.
Press OK to save and then do the same for all your other partitions.
If you want to know more then you can read the EAB post regarding drive setup. It's not up-to-date for newer OS releases such as 3.1.4 and 3.2. Both of these OS also fix the scsi.device and provide support for larger drives. IDEFix isn't required for these newer OS releases.
Click on Ok to save all partition changes and you will be taken back to the main configuration screen
Press Save Changes to Drive to apply all new configuration. Status should change to read "Not Changed".
Exit and reboot to ensure all settings are applied.
Formatting new drives
Once your new drive and partitions are setup then they will still need formatting. All that the HDToolBox does is setup something called the RDB to define the setup.
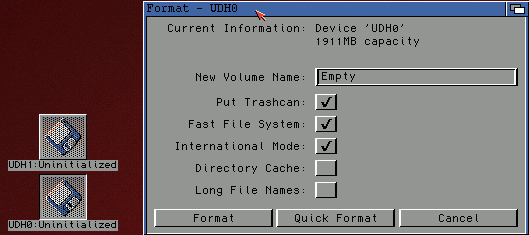
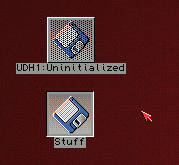
Click on the "Uninitialized" drive icons and then access the Icons->Format disk... option.
Unless you really want it, I would suggest unpicking the Trashcan icon.
Set a new name for the partition and press Quick Format. You will be prompted to proceed. Check that this is the drive you expect to format and press Format.


Comments
Post a Comment